Permissions determine the level of access for collaborators and groups. Owners determine access for collaborators. Permissions are usually set at the beginning for a new presentation, but they can be changed at any point.
Set permissions for Presentations
Permissions can be set for a presentation as a whole or for an individual slide (see below). To access permissions in Presentations:
- 1
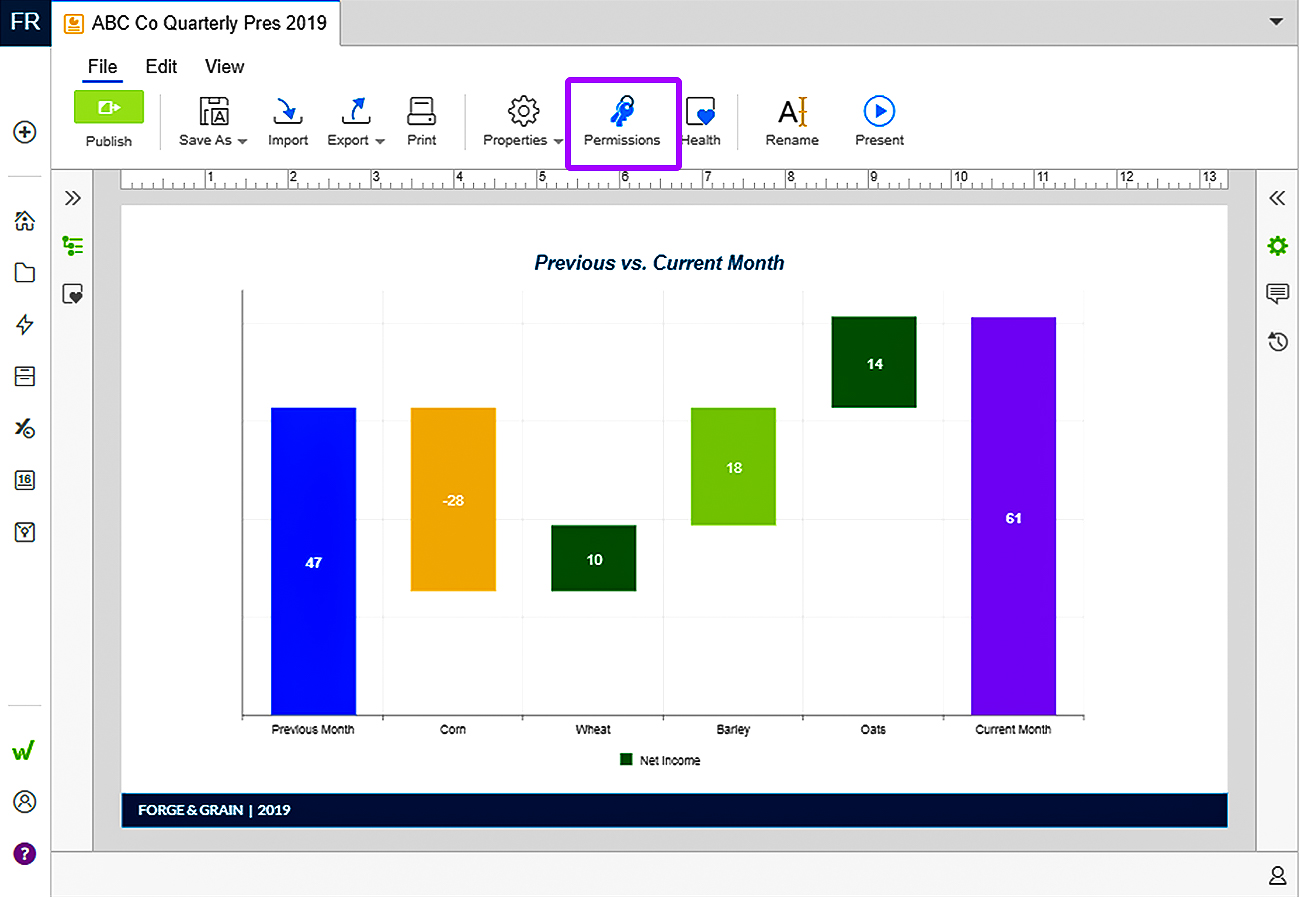
- Select the File tab.
- 2
- Then select Permissions from the menu.
- 3
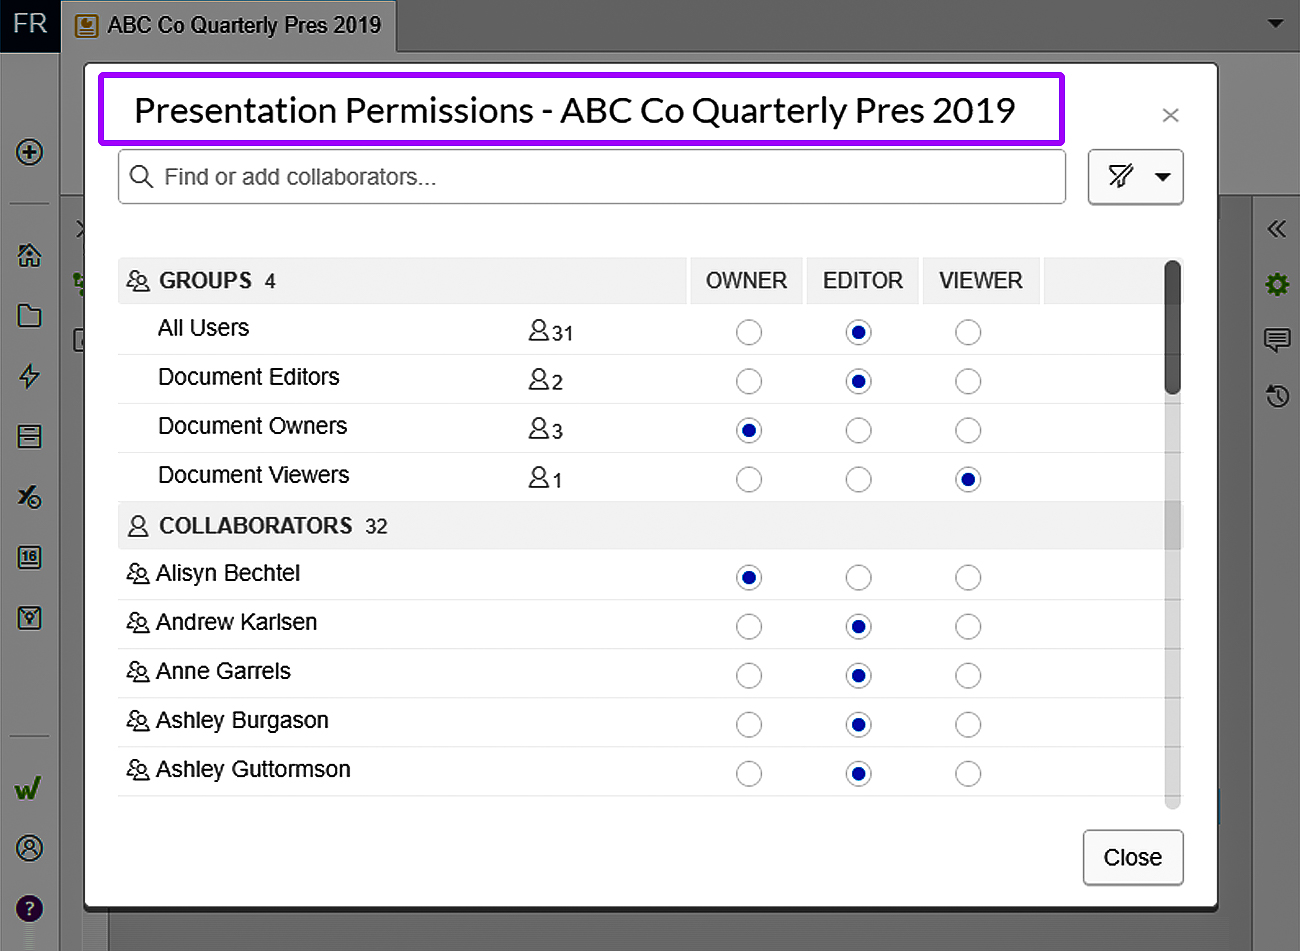
- You’ll have options for the Presentation, Current Slide and the Advanced Permissions editor. The first two options will open the permissions dialog box.
- 4
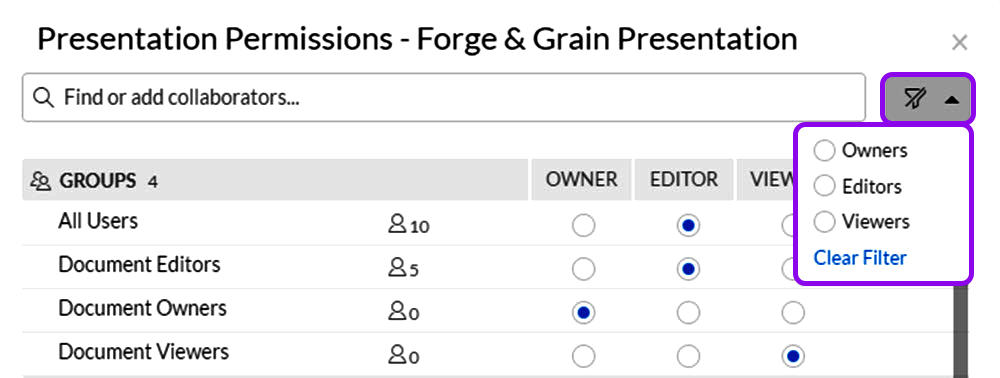
- To find a collaborator or group, enter their name in the search field.
- 5
- Select the desired permission level for a collaborator or group.
Understanding permission levels
There are three permission levels for collaborators:
-
- Owner: Has full rights to the presentation and can manage permissions.
- Editor: Can make changes to the presentation.
- Viewer: Can view a presentation but not make any changes.
Remove a collaborator or group
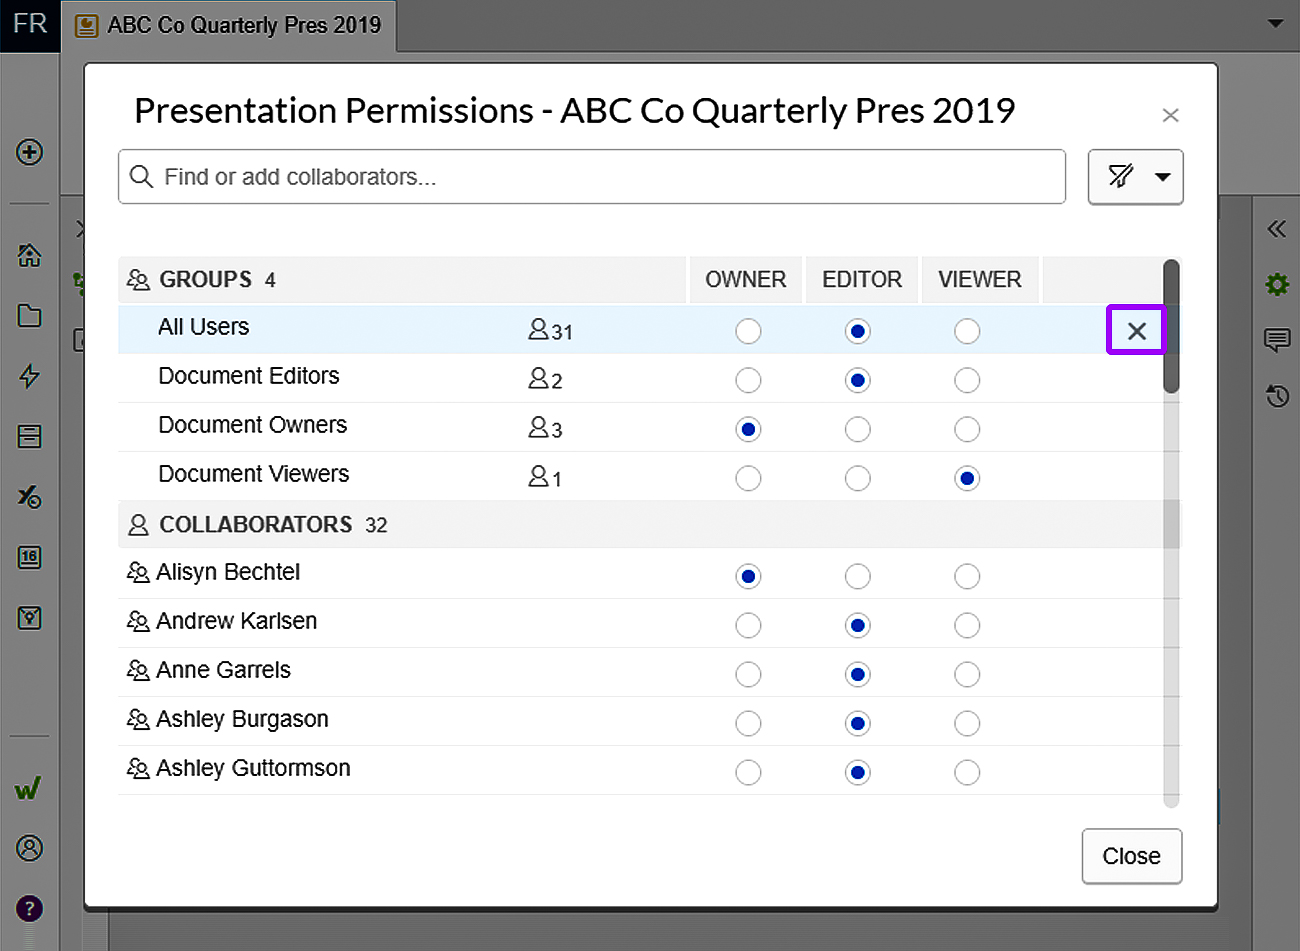
To remove a collaborator or group:
- 1
- Hover over the collaborator or group.
- 2
- Click the X that appears on the right and select Save Changes to apply new permissions.
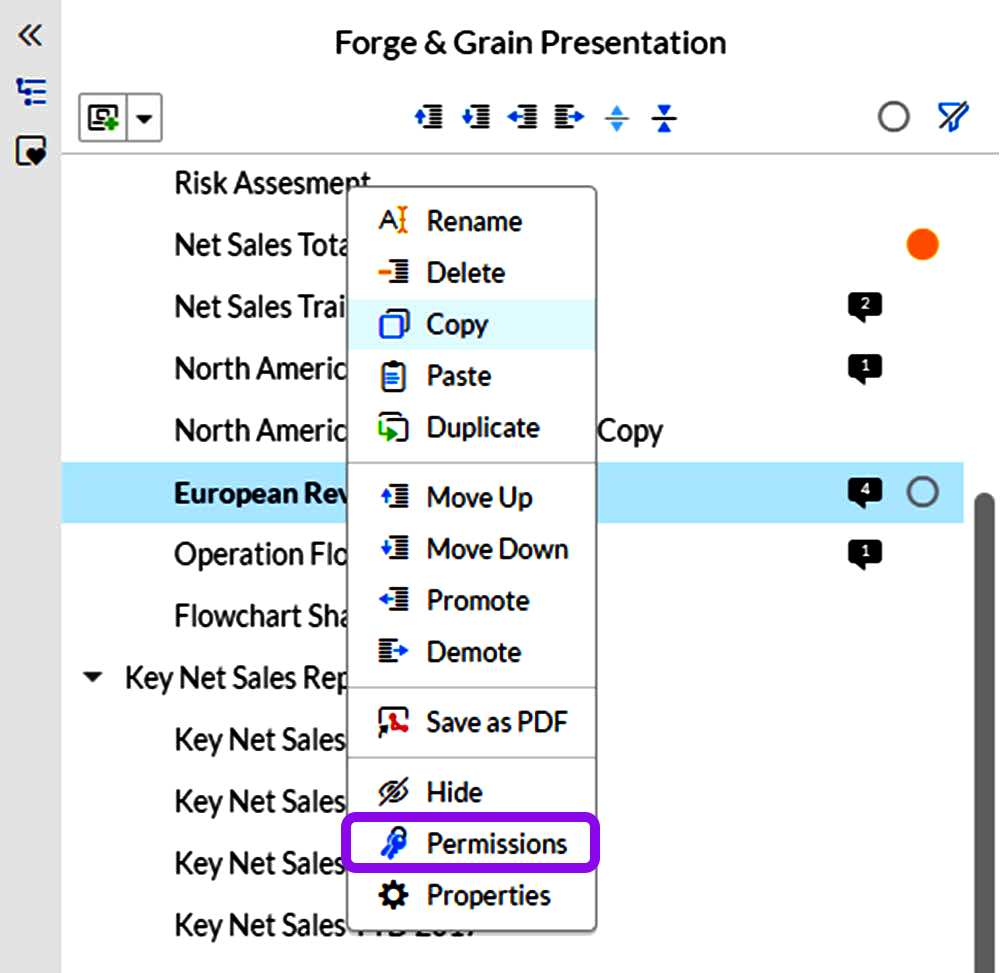
Individual slide permissions
To manage permissions for individual slides:
- 1
- Select the slide in the Document Outline panel.
- 2
- Right click on the slide name and choose Permissions from the menu.
Set permissions for the individual slides functions using the permissions dialog box.
Remove slide permissions
You can remove Owners and Editors from one or more specific slides. They will see a grayed out title in Italics in the outline panel. A message on the slide indicates that the slide has been excluded.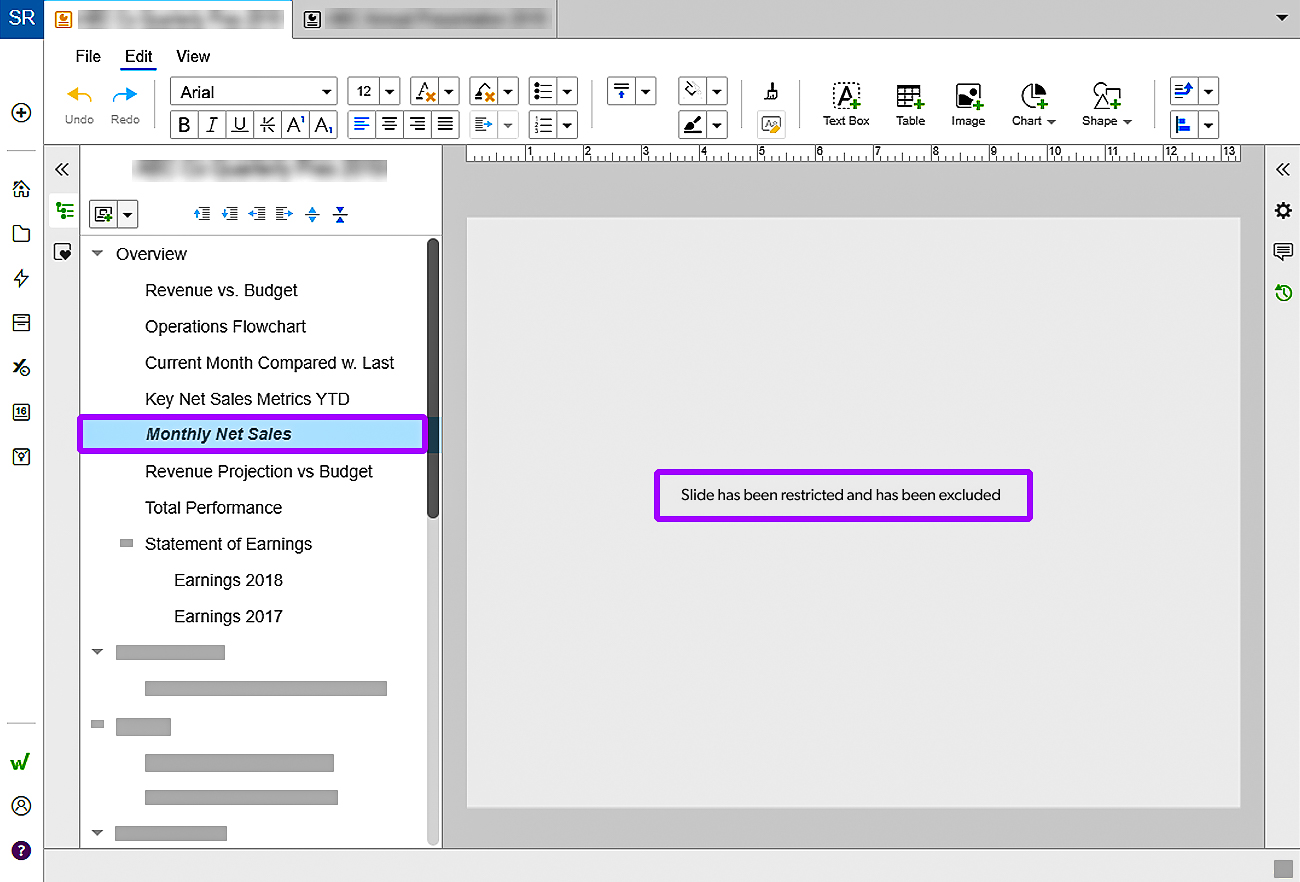
If the user is a Viewer, the message in the slide indicates that there is no data to display. In the Permissions dialog box, the name of the user will show with a strikeout and a blue asterisk.
Advanced Permissions Editor
If you choose the Advanced Permissions editor, a permissions matrix will open in a separate tab. All of the slides in your Presentation are listed on the left. Click on the appropriate squares to set permissions levels. For more information, see Setting advanced permissions.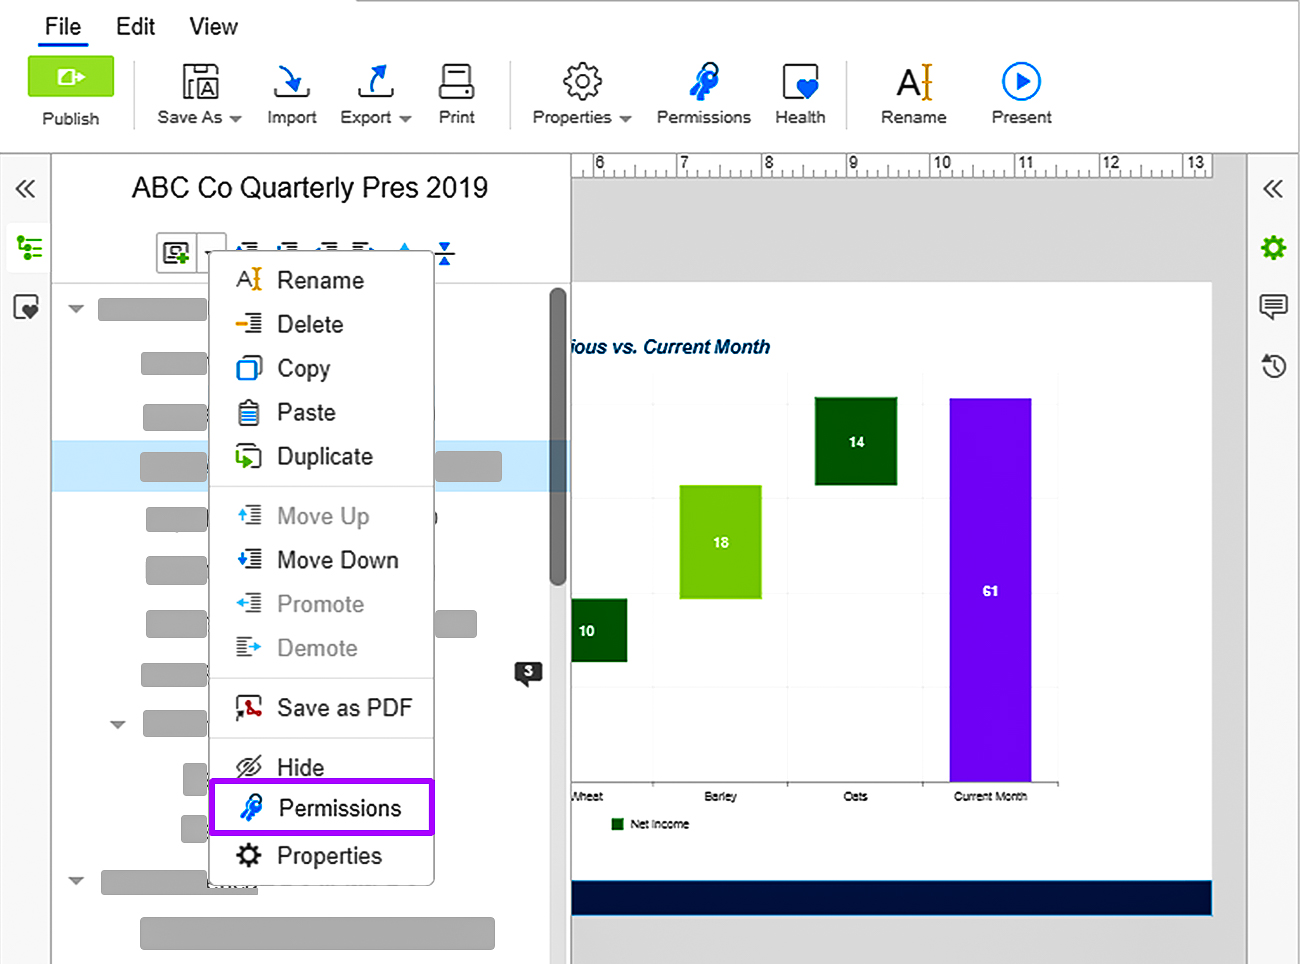
You can also manage Presentations permissions in Home. To learn how, read the article Update file permissions.