Customize chart appearance to clarify the data presented. Add chart borders to define elements in your chart. Create background colors to emphasize your chart. Add gradient fills to show trends or add interest to your visuals in documents.
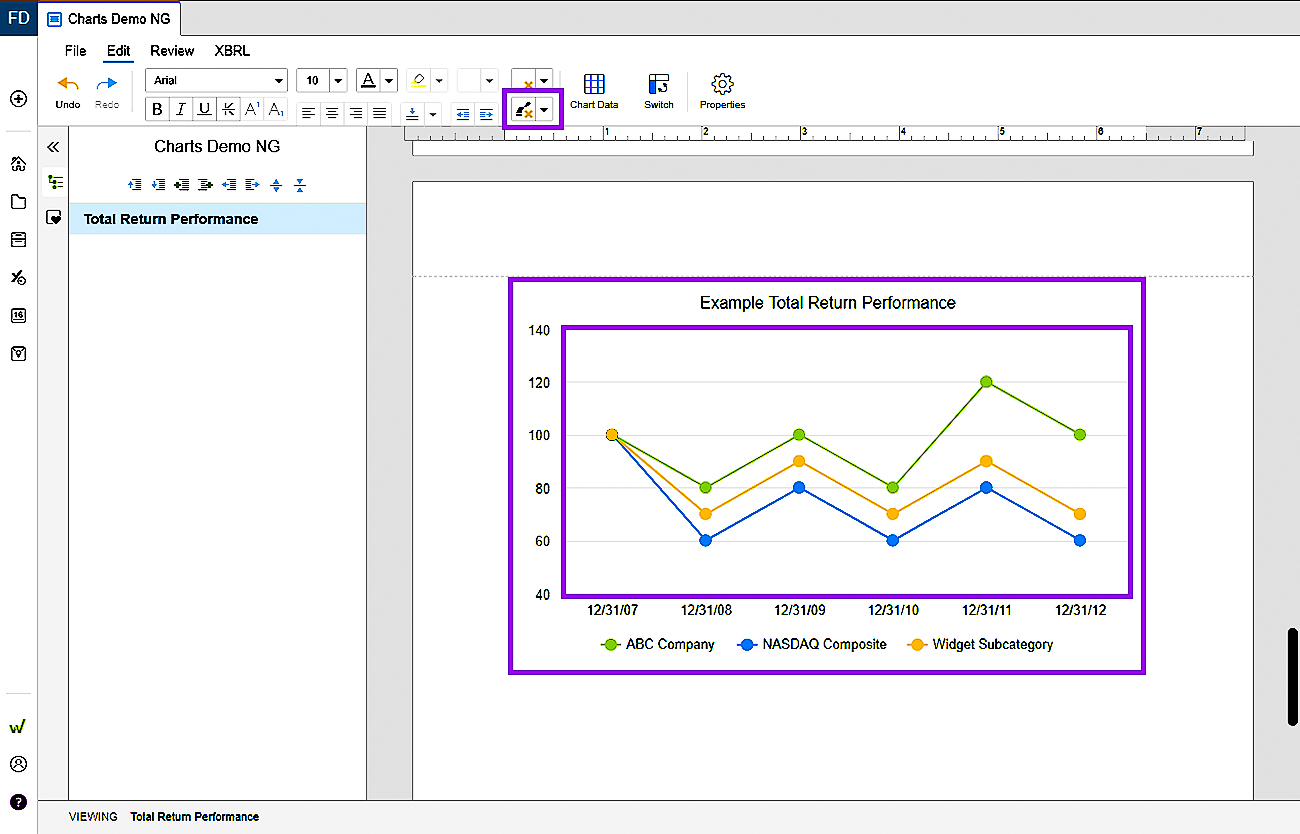
Chart borders
Set a border for the outer edge of your chart using the Line Color tool. If you click on the inner area of your chart, you can set that line color independently.
To customize the borders for columns and slice, see articles for these chart types:
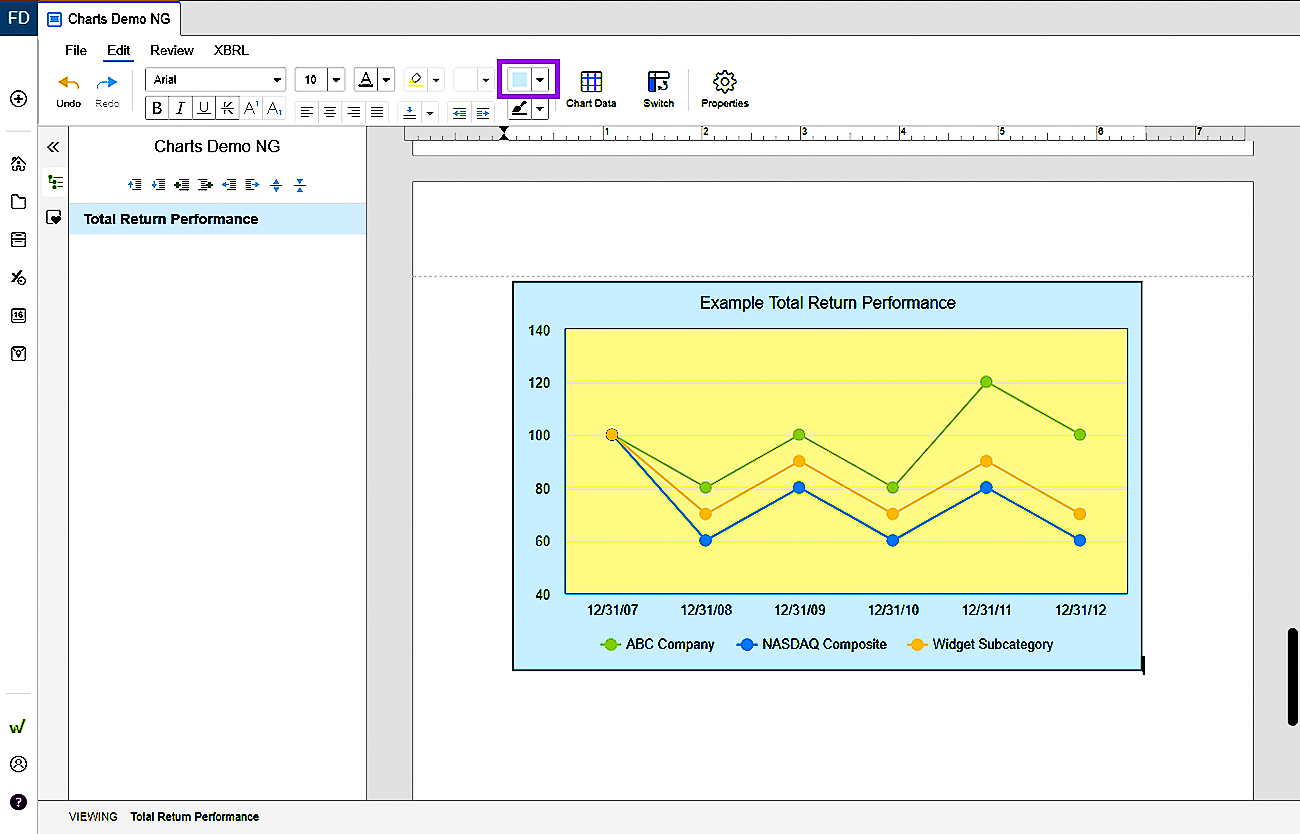
Background colors for charts
There are two different areas where you can add a background color in charts. One is the background for the entire chart. The other is the background for the inner area of the chart.
To set the background color for the entire chart:
- 1
- Click on one of the edges of the chart.
- 2
- Set the color using the background color tool in the Edit toolbar.
To set a background color for the inner area of your chart:
- 1
- Click on the drop-down in the Plot Area Fill option in the Chart Properties panel.
- 2
- Choose Solid in the drop-down menu.
- 3
- Select a desired color.
To work with gradient fills, see additional information below.
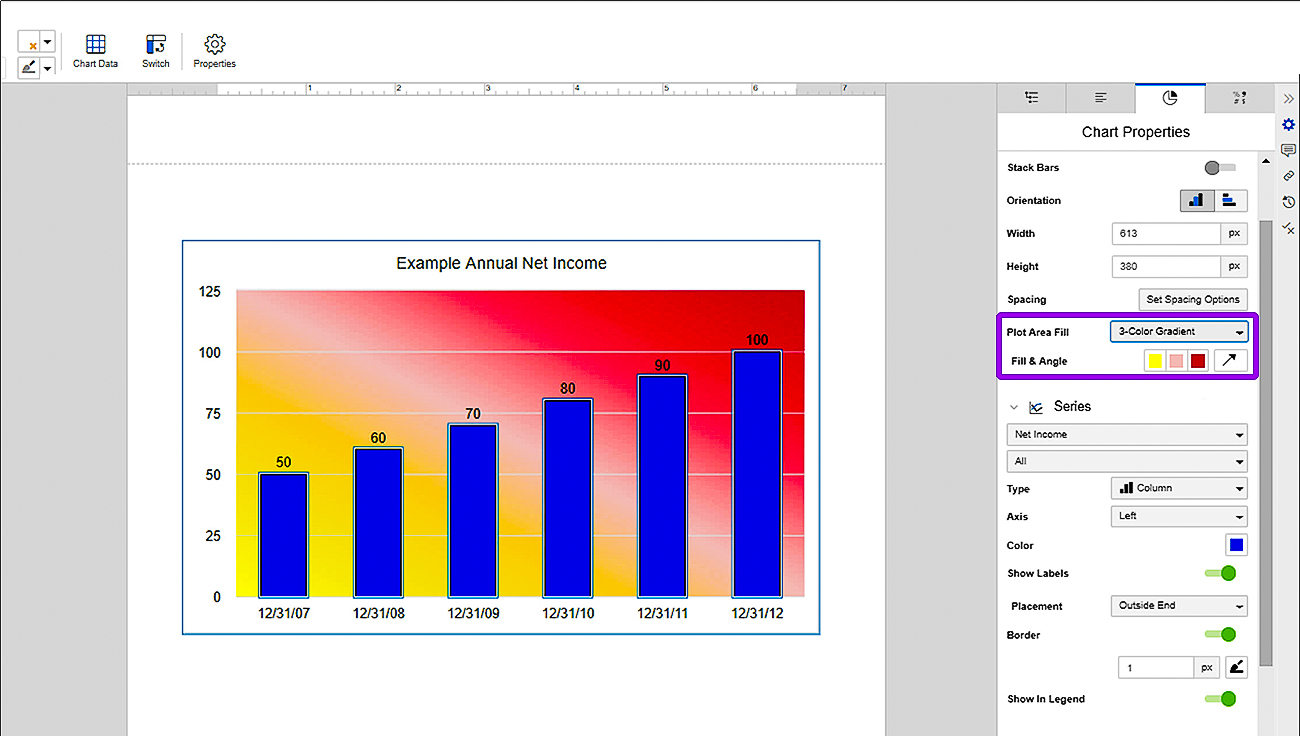
Gradient fills for charts
You can add gradient background fills to a number of chart types.
To create a gradient:
- 1
- Click the Plot Area Fill drop-down.
- 2
- Choose 2-Color Gradient or 3-Color Gradient.
- 3
- Use the color swatch to choose the colors for the gradient.
- 4
- Use the arrow icon to set a direction for the gradient.