You can attach files to a cell or range of cells from the Attachments panel.
Attach a file to cells
To attach a file to a spreadsheet:
- 1
- Select a cell or range of cells.
- 2
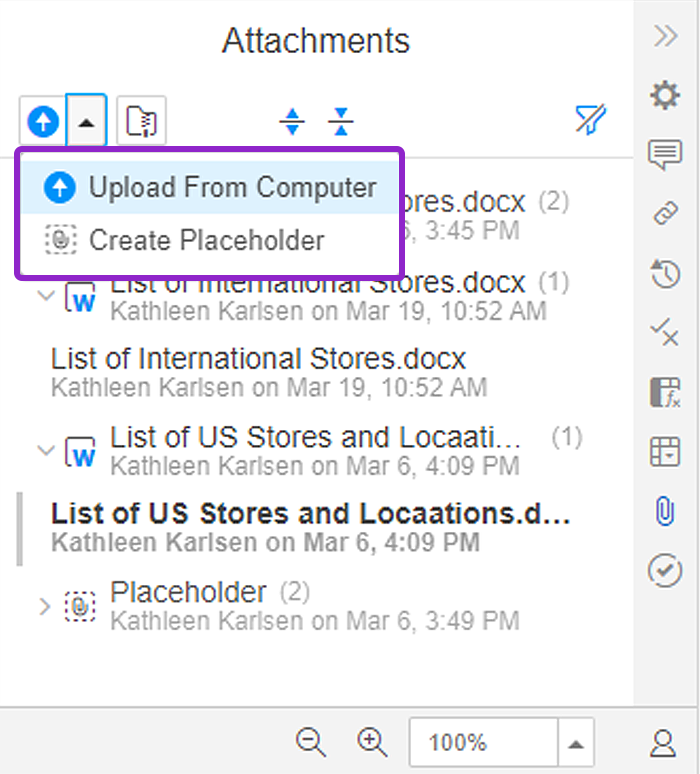
- Click the Upload File icon in the Attachments panel.
- 3
- Choose a file.
- 4
- Click Open.
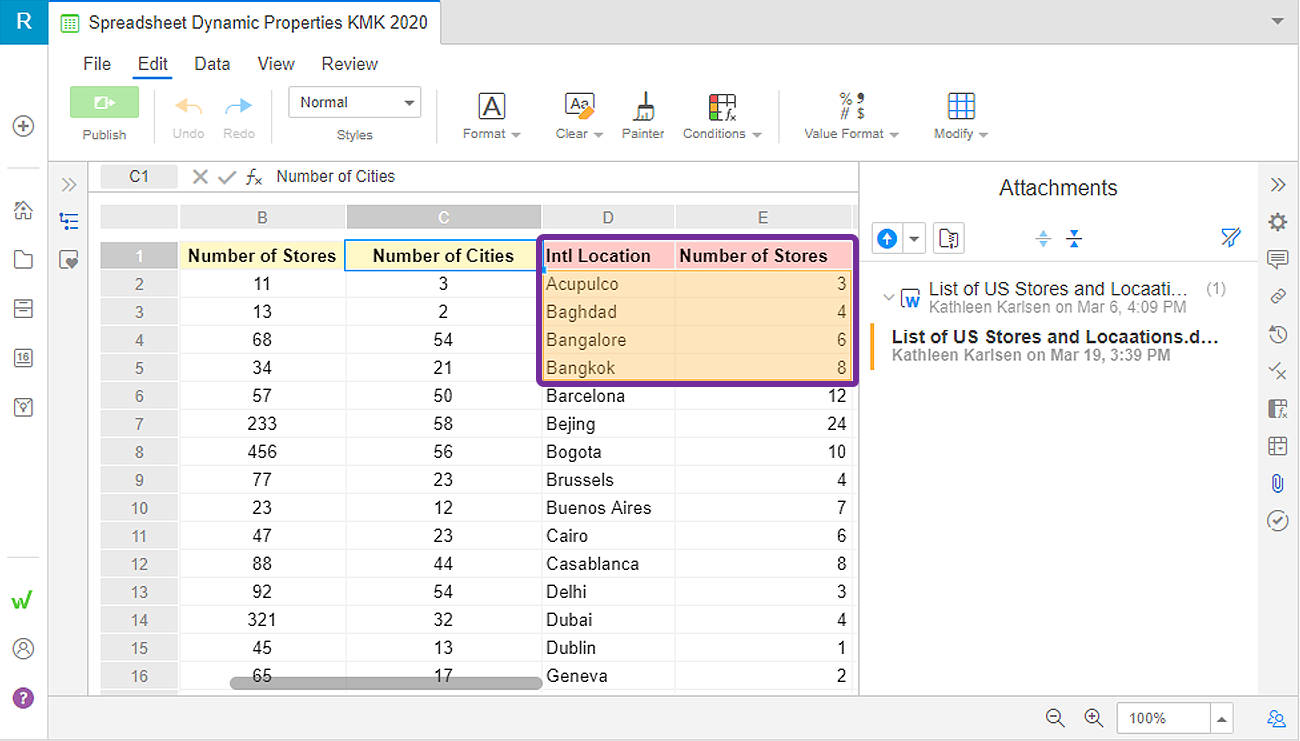
Orange lines around cells indicate an attached file. If there are multiple references to an attachment, selecting a reference in the Attachments panel highlights the associated cells in your spreadsheet.
After you've uploaded an attachment or created a placeholder, you can create additional references to that attachment or placeholder:
- 1
- Select another cell or range of cells.
- 2
- Find your file or placeholder in the Attachments panel.
- 3
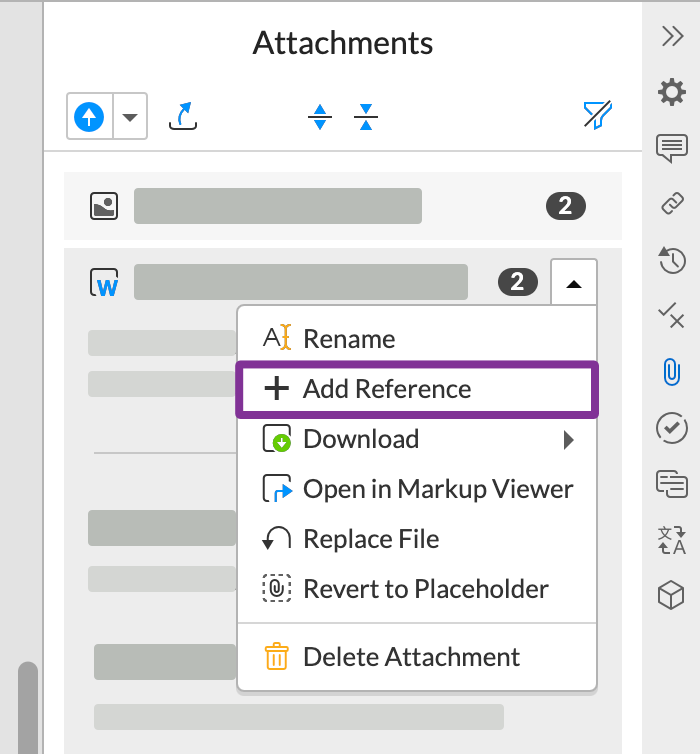
- Choose Add Reference from the menu.
Modify attachments
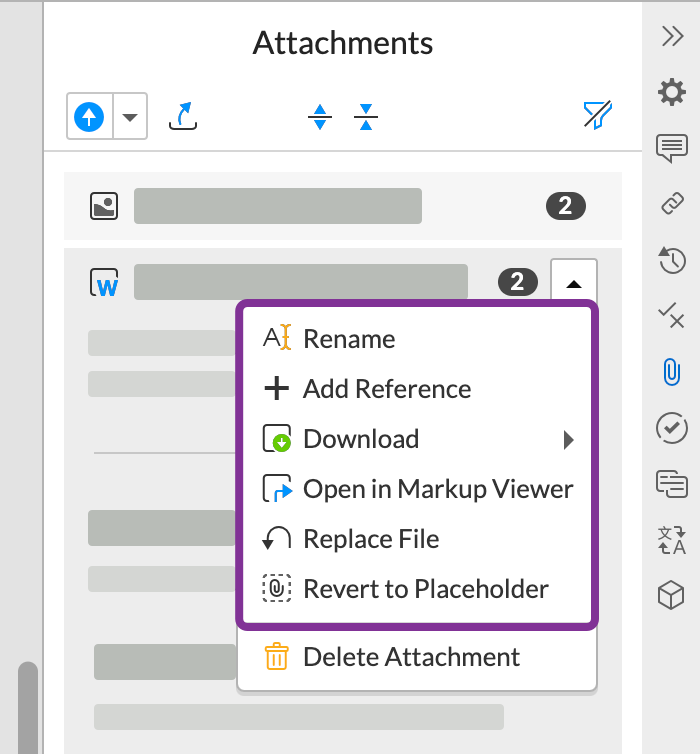
Use the dropdown menu in the Attachments panel to rename, download, replace, or delete reference files. Use the Open in Markup Viewer option to add markup to any attachment—learn more about adding markup to an attachment.
Note: Editors and owners have access to all attachment options. Viewers only have access to Open and Download attachments.
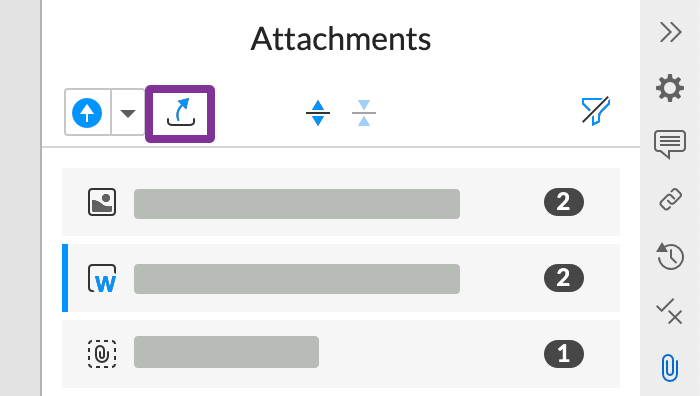
You can show or hide the detailed references for each attachment using the Expand and Collapse icons. 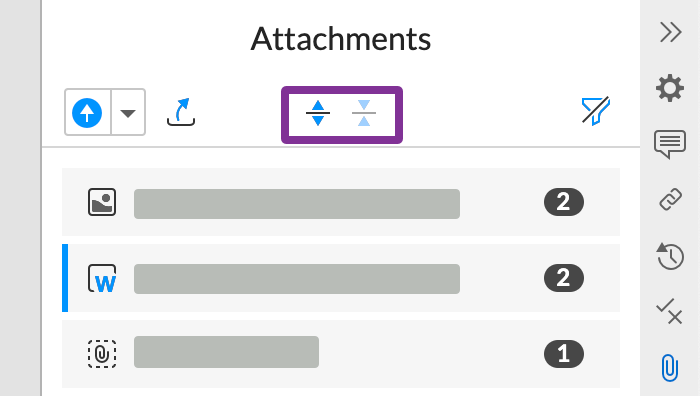
Use the Filter options to see attachments for your entire spreadsheet or just the selected sheet. The numbers next to each option show how many attachments will be filtered. 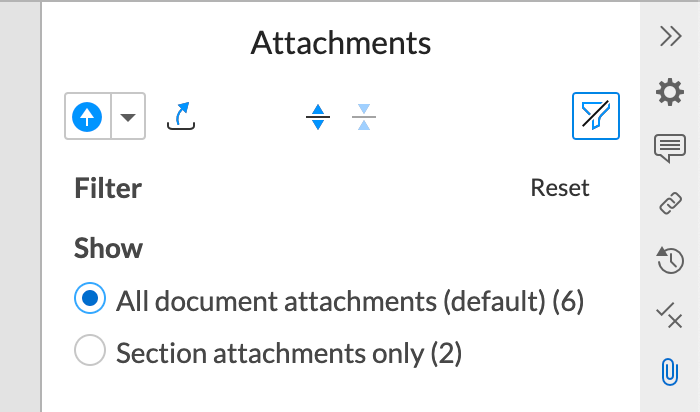
Download attachments
You can download your attachments individually or as a packaged .zip file.
To download an individual file, select the file in the Attachments panel and select Download from the menu. Select the type of file you want to download. 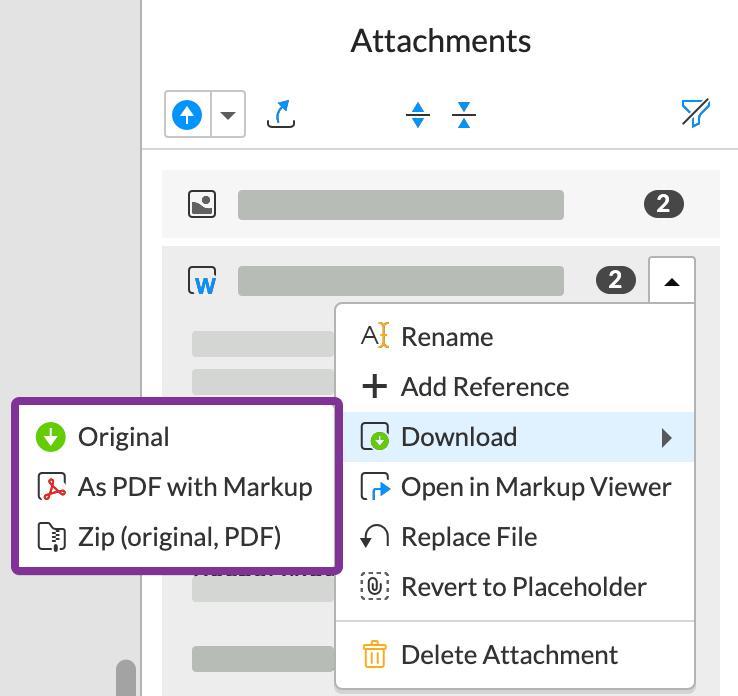
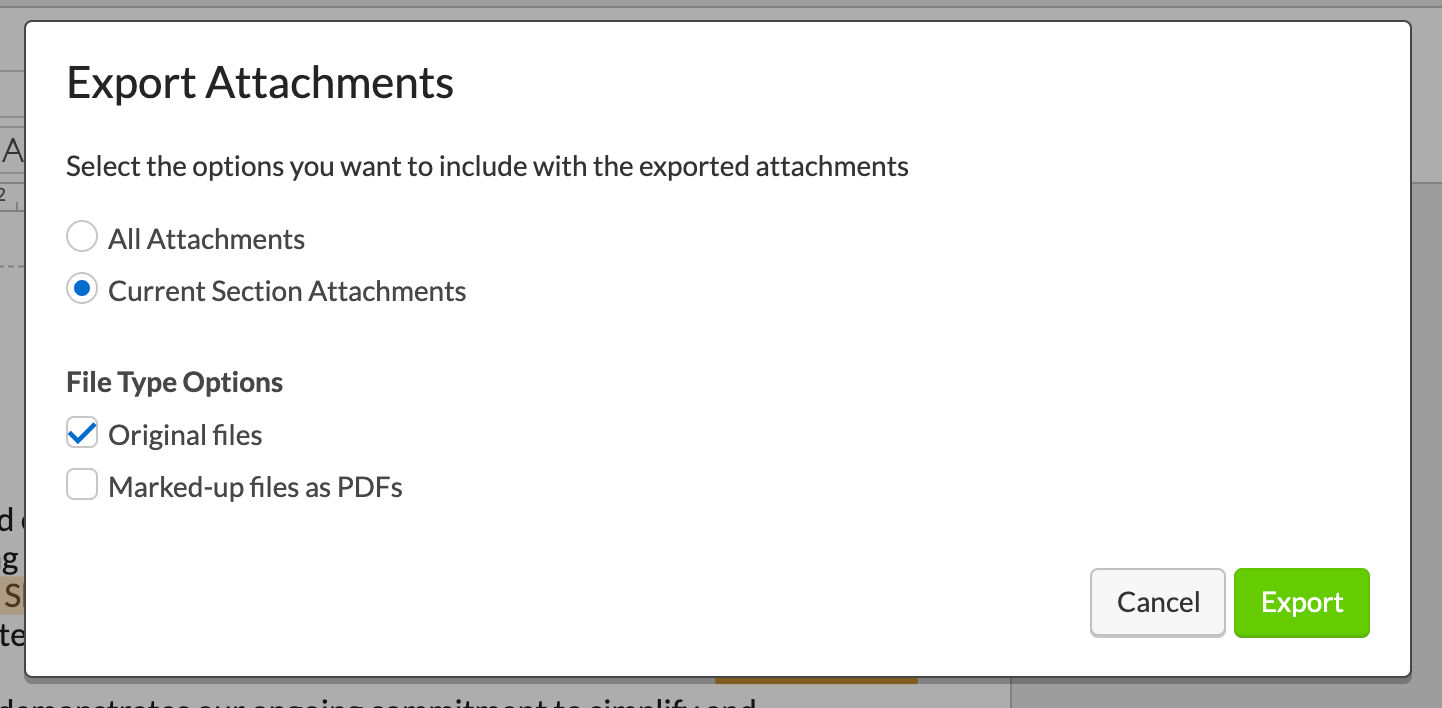
To download multiple attachments, select Export Attachments at the top of the panel.
From the Export Attachments window, select whether you want to download all attachments or just the ones in your current sheet. You can also select whether to include the original file, any mark-up you've added, or both file types to your .zip folder.